Posing your Gunpla is one of the most fun parts of the build process, as it adds a dynamic layer to your collection, allowing you to showcase your work and creative mind while capturing the action, personality, and artistic look of the model kit. Learning how to pose your Gunpla can bring them to life. This can reflect the emotion based on the model kit’s stance and turning them into beautiful display pieces. No matter what level of experience you have as a builder, there is so much to learn about Gunpla. In this guide, we’ll be taking an adventure into How to Pose your Gunpla through different tips, techniques, and setups to transform your Gunpla into model kits on your display that are dynamic and engaging to the eye.
Use References Poses from The Gunpla Model Kit Box
One of the first steps of our How To Pose Your Gunpla is to find a pose that fits your model kit’s personality. The best way to see this would be to look at the many poses featured in Gunpla’s boxes. Plenty of Gunpla boxes showcase the model kit in various poses from action to neutral poses. The designer chose these poses to bring attention to the model kit’s angles and articulation features. Furthermore, these box poses can give you a idea of how the kit would look like. Try replicating these box poses for inspiration, then make personal adjustments to make these poses your own. Using these poses from the box is helpful to new builders. It offers a level of inspiration by ensuring they have an intense pose for display.

How to Pose you Gunpla: Adding Props and Attachments to Your Pose
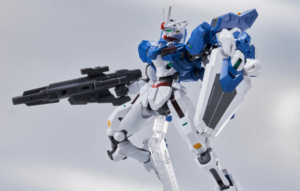
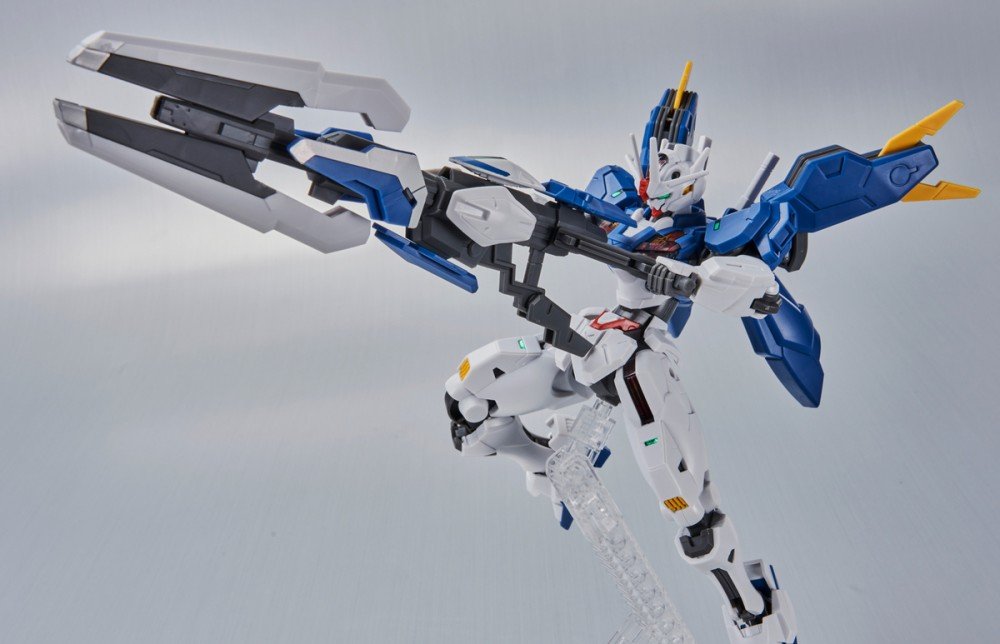
If your pose looks pretty boring, adding props like weapons can bring more personality and add a layer of dynamic to the pose. You can start testing by positioning the weapons, such as rifles, beam sabers, and shields, to align with your model kit’s pose. For example, you can place a rifle in the hand of your Gunpla while having a shield in the other in a defensive stance to add a powerful look. Furthermore, adding accessories such as action bases can help you capture poses such as mid-air flight or action-based movement, which adds a level of realism and energy to your Gunpla. In addition, these little additions and adjustments can make your Gunpla stand out.

Achieving Stability and Balance While Mastering Joint Articulation
The next aspect of the How to Pose Your Gunpla is ensuring the model kit stays stable and balanced. Knowing stability in your Gunpla is critical to creating balanced and realistic poses. Furthermore, every model kit has articulated joints, which are within the shoulders, knees, elbows, and ankles. The joints provide you with a level of flexibility. If you go beyond the limit, it will be challenging to achieve a balanced pose. You can start by adjusting the torso and legs of the model kit to distribute the weight evenly. This will stop the model kit from falling over. Furthermore, adjust each joint gently while ensuring the arms, legs, and head are aligned naturally in your chosen pose. To add more to your pose, consider using a display stand. This will allow you to achieve a dynamic and bolder action pose without cutting the balance.

Become a Posing Wizard and Bring out Your Creative Spark: How to Pose Your Gunpla
Being able to pose your Gunpla is a technique that adds a layer of personality to each build you create. Furthermore, with these posing tips, you are ready to transform your Gunpla into a piece of artwork to be displayed proudly. From using inspiration from the boxes to props and accessories, these tips can help you on the journey of becoming a posing wizard. Take the time to practice and experiment with different poses and techniques. See what is best for you and your style so that you can display your collection of Gunpla with confidence and pride. Moreover, if you have any questions about any topic related to Gundam and Gunpla, don’t hesitate to reach out. Use the contact form below. I will be happy to help you and make Gunpla an enjoyable hobby. Happy Building!